Unleashing the potential of text effects in Photoshop opens up a world of creativity and visual impact. As one of the most versatile tools in a designer’s arsenal, Photoshop offers an array of features to transform ordinary text into extraordinary masterpieces. In this exploration of “Text Effects in Photoshop,” we embark on a journey to discover the artistry and power behind creating captivating and dynamic text designs. Join us as we delve into the techniques, tips, and tricks to elevate your designs and captivate your audience with stunning text effects in Photoshop.
Contents
Text Effects in Photoshop
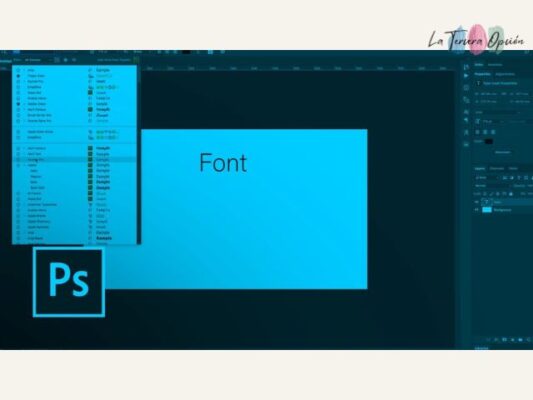
Step 1: Choosing the Right Font
Font Selection
The choice of font significantly influences the overall look and feel of your design. Utilize the “Layers” panel to browse through installed fonts and select the one that best suits your project.
Ensuring Readability
Adjust the font size to ensure optimal readability for your audience.
Exploring Font Weights
Opt for fonts with a range of weights to add depth and versatility to your design.
Exploring Font Styles
Experiment with different font styles to find the perfect match for your project’s aesthetic.
Considering Compatibility
Verify that your chosen font is compatible across different operating systems to ensure seamless viewing for end-users.
Step 2: Harnessing Advanced Text Effects
Setting Up
Open a new document in Photoshop to begin your text manipulation journey.
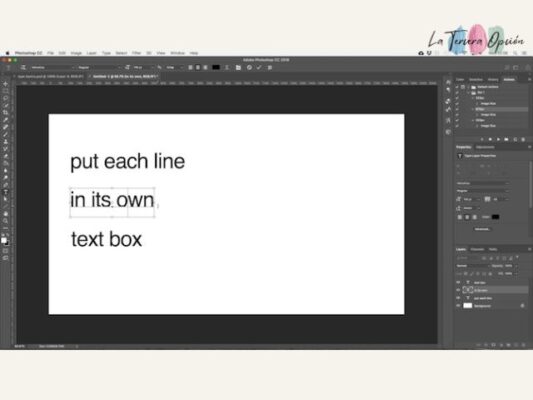
Text Customization
Utilize the “Text” tool to input your desired text and tweak properties such as font, size, and color.
Layering Text
Convert your text into a separate layer for more nuanced editing capabilities.
Exploring Text Effects
Experiment with various text effects such as shading, borders, or image fills to add visual flair to your text.
Step 3: Crafting Stunning 3D Effects
Selecting the Object
Choose the object you wish to transform into a 3D masterpiece within your image.
Initiating 3D Transformation
Utilize Photoshop’s “Layer” menu to initiate the transformation into a 3D layer.
Familiarize yourself with the “3D” window to manipulate, rotate, and illuminate your 3D object effectively.
Enhancing with Lighting Effects
Elevate your 3D creation by incorporating dynamic lighting effects using the “Lights” tool.

Step 4: Delving into Distortion Effects
Image Selection
Open your desired image within Photoshop to commence the distortion process.
Utilizing Distortion Tools
Employ Photoshop’s distortion tools to manipulate the image according to your creative vision.
Fine-tuning Distortion
Adjust the deformation parameters to achieve the desired level of distortion and visual impact.

Step 5: Saving and Sharing Your Masterpiece
Once you’ve meticulously crafted your design, ensure it’s preserved and shareable for future endeavors.
File Saving
Save your file in the appropriate format, considering its intended use and audience.
Sharing Options
Explore various sharing avenues such as PDF export, web-friendly formats, or cloud storage for seamless collaboration and dissemination.

Conclusion
Mastering advanced text effects in Photoshop isn’t just about creating visually stunning designs; it’s about unlocking your creativity and leaving a lasting impression on your audience. By harnessing the power of Photoshop’s advanced features, you can transform ordinary text into extraordinary works of art. So, dive in, experiment, and let your imagination run wild as you elevate your design game with captivating text effects in Photoshop.
Related Post
10+ Embroidery Patterns for Your Commercial Projects
10 Fashion Fonts for Iconic Branding
Creating Dynamic Cartoon Characters: Key Steps