
Unlock the full potential of your crafting projects as we delve into the world of “Silhouette Secrets: Using Your Silhouette for Precision Cutting of Cricut Images.” In this guide, we will explore innovative techniques to seamlessly integrate Cricut images into your Silhouette workflow, allowing for precise and detailed cuts that elevate your creations to new heights. Whether you’re a seasoned crafter looking to expand your repertoire or a novice eager to explore advanced crafting techniques, this guide is your key to unlocking the secrets of precision cutting with your Silhouette machine. Join us as we embark on this creative journey together, where every cut brings your vision to life with unparalleled accuracy and finesse.
Contents
- 1 Crafting Fusion: Unleashing the Power of Your Silhouette
- 2 Software Setup: Installing and Connecting
- 3 Navigating Silhouette Studio: Your Creative Hub
- 4 Designing Masterpieces: Unleash Your Creativity
- 5 Fine-Tuning Cut Settings: Precision is Key
- 6 Printing and Cutting: Seamless Integration
- 7 Preparing Your Cameo 3: Setting the Stage for Success
- 8 Exploring Design Options: My Library and Beyond
- 9 Conclusion
- 10 Related Post
Crafting Fusion: Unleashing the Power of Your Silhouette
Upon receiving your Silhouette Cameo 3, dive into unboxing and discover essential items such as the wireless cutting machine, Silhouette Studio Software, power and USB cables, a cutting mat, AutoBlade, and more.
Software Setup: Installing and Connecting
Begin your crafting journey by installing the Silhouette Studio software, tailored to your computer’s specifications. Connect your Cameo 3 to the software via USB cable or Bluetooth, enabling seamless communication for your crafting projects.
Familiarize yourself with Silhouette Studio, your creative hub for designing and cutting projects. Explore essential features like the Menu, Cut Settings, and the Toolbar to streamline your workflow.
Designing Masterpieces: Unleash Your Creativity
Create custom designs using Silhouette Studio’s drawing tools or import designs from external programs. Discover a world of pre-made designs available in the Silhouette Design Store to fuel your creative endeavors.
Fine-Tuning Cut Settings: Precision is Key
Before cutting, fine-tune your cut settings to perfection. Adjust parameters such as blade depth, speed, and material thickness to ensure optimal results for your crafting projects.
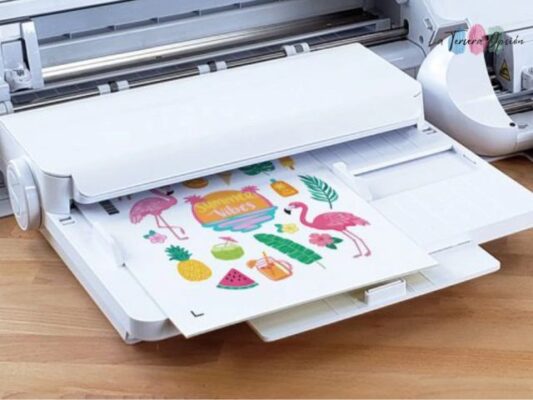
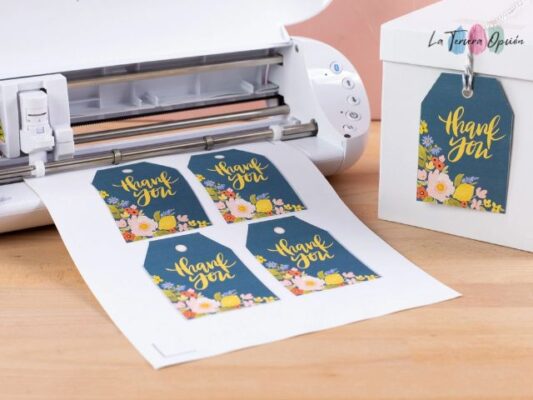
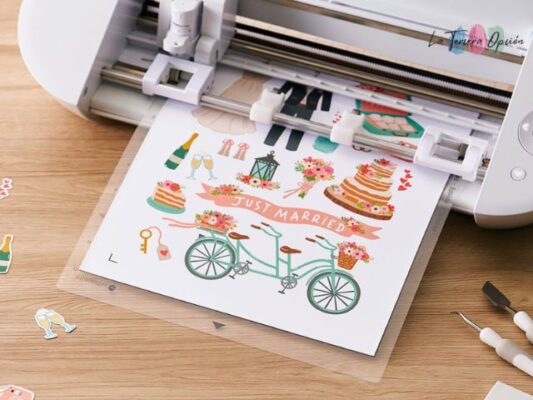
Printing and Cutting: Seamless Integration
Utilize the Print & Cut feature to seamlessly integrate printed designs into your crafting projects. Design in Silhouette Studio, print your creations, and then let your Cameo 3 work its magic with precise cutting.
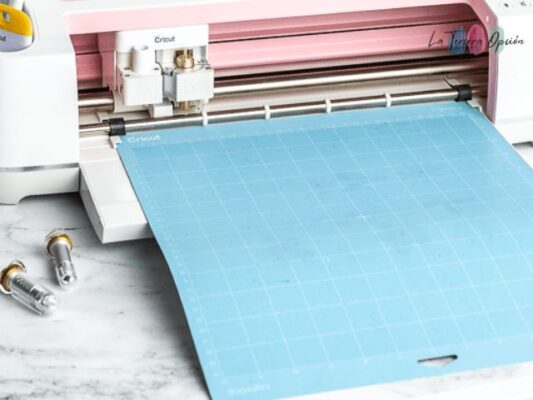
Preparing Your Cameo 3: Setting the Stage for Success
Ensure a smooth cutting process by properly preparing your Cameo 3. From preparing the cutting mat to adjusting blades and rollers, every step is crucial for achieving flawless cuts.
Exploring Design Options: My Library and Beyond
Organize your designs with ease in My Library, and explore the vast collection of designs available in the Silhouette Design Store. Fuel your creativity with endless possibilities for your crafting projects.
Conclusion
The Silhouette Cameo 3 emerges as a powerhouse cutting machine, offering unmatched versatility and precision for crafting enthusiasts. This guide has equipped you with the essential knowledge needed to embark on your crafting journey with confidence. With its myriad features and capabilities, the Silhouette Cameo 3 opens doors to endless creative possibilities, empowering you to bring your crafting visions to life with ease and precision. Craft beyond boundaries with your Silhouette and let your creativity soar!
Related Post
Creating 3D Printed Embossing Plates
Crafting Custom 3D Printed from SVG Artwork
Express Your Passion: 7 Anime Room Decor Ideas to Showcase Your Style